
Semaphore-Trafficators.
Today no one looks for the Lucas Semaphore-Trafficator. Flashing indicators are everywhere and a little, dim festoon-bulb glowing in an amber coloured arm poking out from a car’s ‘B’ post is easily missed. Also, the arm is hidden from those approaching from the other side of your car. This eventually forced me ( a very conservation chap) to update my car by adding flashers, as the majority now have. But the semaphore is not redundant as it can be fitted with a modern flashing festoon bulb and act as a repeater. This requires that the equipment be serviced occasionally. (To fit your own flashers see the web-site Tech Advice pages, < https://www.mgccyregister.co.uk/wp-content/uploads/2019/09/Y_Sheet-4.pdf-flashing-ind-Neil-C.pdf >
Removing the unit from the ‘B’ post may mean a bit of interior trim removal. (A ‘B’ post is the central pillar the doors mount onto.) The most common reason semaphore fail is poor contacts and corroded bullet connectors. If you find your semaphores are still fed by cotton covered rubber wires, you need an urgent rewire as such ancient wiring is liable to fail (often insurance companies request details of when the car was re-wired for agreed-value). One hears of people thumping the ‘B’ post to get the arm to raise or drop. This indicates poor current flow, a high resistance somewhere. The most common area is under the driver’s seat, but right under the car on the inside-edge of the chassis. Three wires here leave the wiring loom one is the interior light, the other two for each semaphore. The connectors here are often just one big lump of green verdigris, badly corroded copper bullet connectors. Either clean the connectors or solder on new ones. The wires then go over to the ‘B’ post, up it and into the roof area. The next place for a poor connection is the bullet connector to the semaphore itself. Clean both the connector and its contact until shiny copper. Once the power has got to the unit, it has to be earthed, i.e. a return to the battery using the car’s body. When I re-wired my YB I put in an extra wire the length of the car to act as an earth return as well as the bodywork for everything; there are too many bits relying on bolted contact areas in the body. The last place to check is the operating part, are the contacts clean in your switch, albeit a clockwork one in the steering wheel or a later Lucas one on the dash? Then check the fuse that supplies the switch as its ends as well as the clip it sits in can corroded. Again clean to shiny copper. If you are still using the steering wheel clockwork switch, the slip-rings may need cleaning, (see Tech Advice < https://www.mgccyregister.co.uk/wp-content/uploads/2019/09/Y-Sheet-1-Nov-2009.pdf-steering-electrics.pdf >
Once you are happy the power is getting to your semaphore without losing out to high resistance connections, it may need servicing.

Picture 1
Picture (1) shows the unit off the car, note there are at least three types about so yours may not be identical to this one, but they all operate in a similar manner. They are a simple electro-magnet, a solenoid.

Picture 2
Picture (2) shows the operating end. DO NOT try to lift the arm on its own as you are liable to break the plastic lens. Check for broken springs and general dirt.

Picture 3
Picture (3) is the other end where the wire connects, here there is a curly bit of copper that the ‘bullet’ goes into, Ensure it gets a good electrical contact inside. Check the soldered connection here. The ‘earth’ is simply the two screws that fix the unit to the ‘B’ post. It might be worth running an extra earth wire down to the chassis?
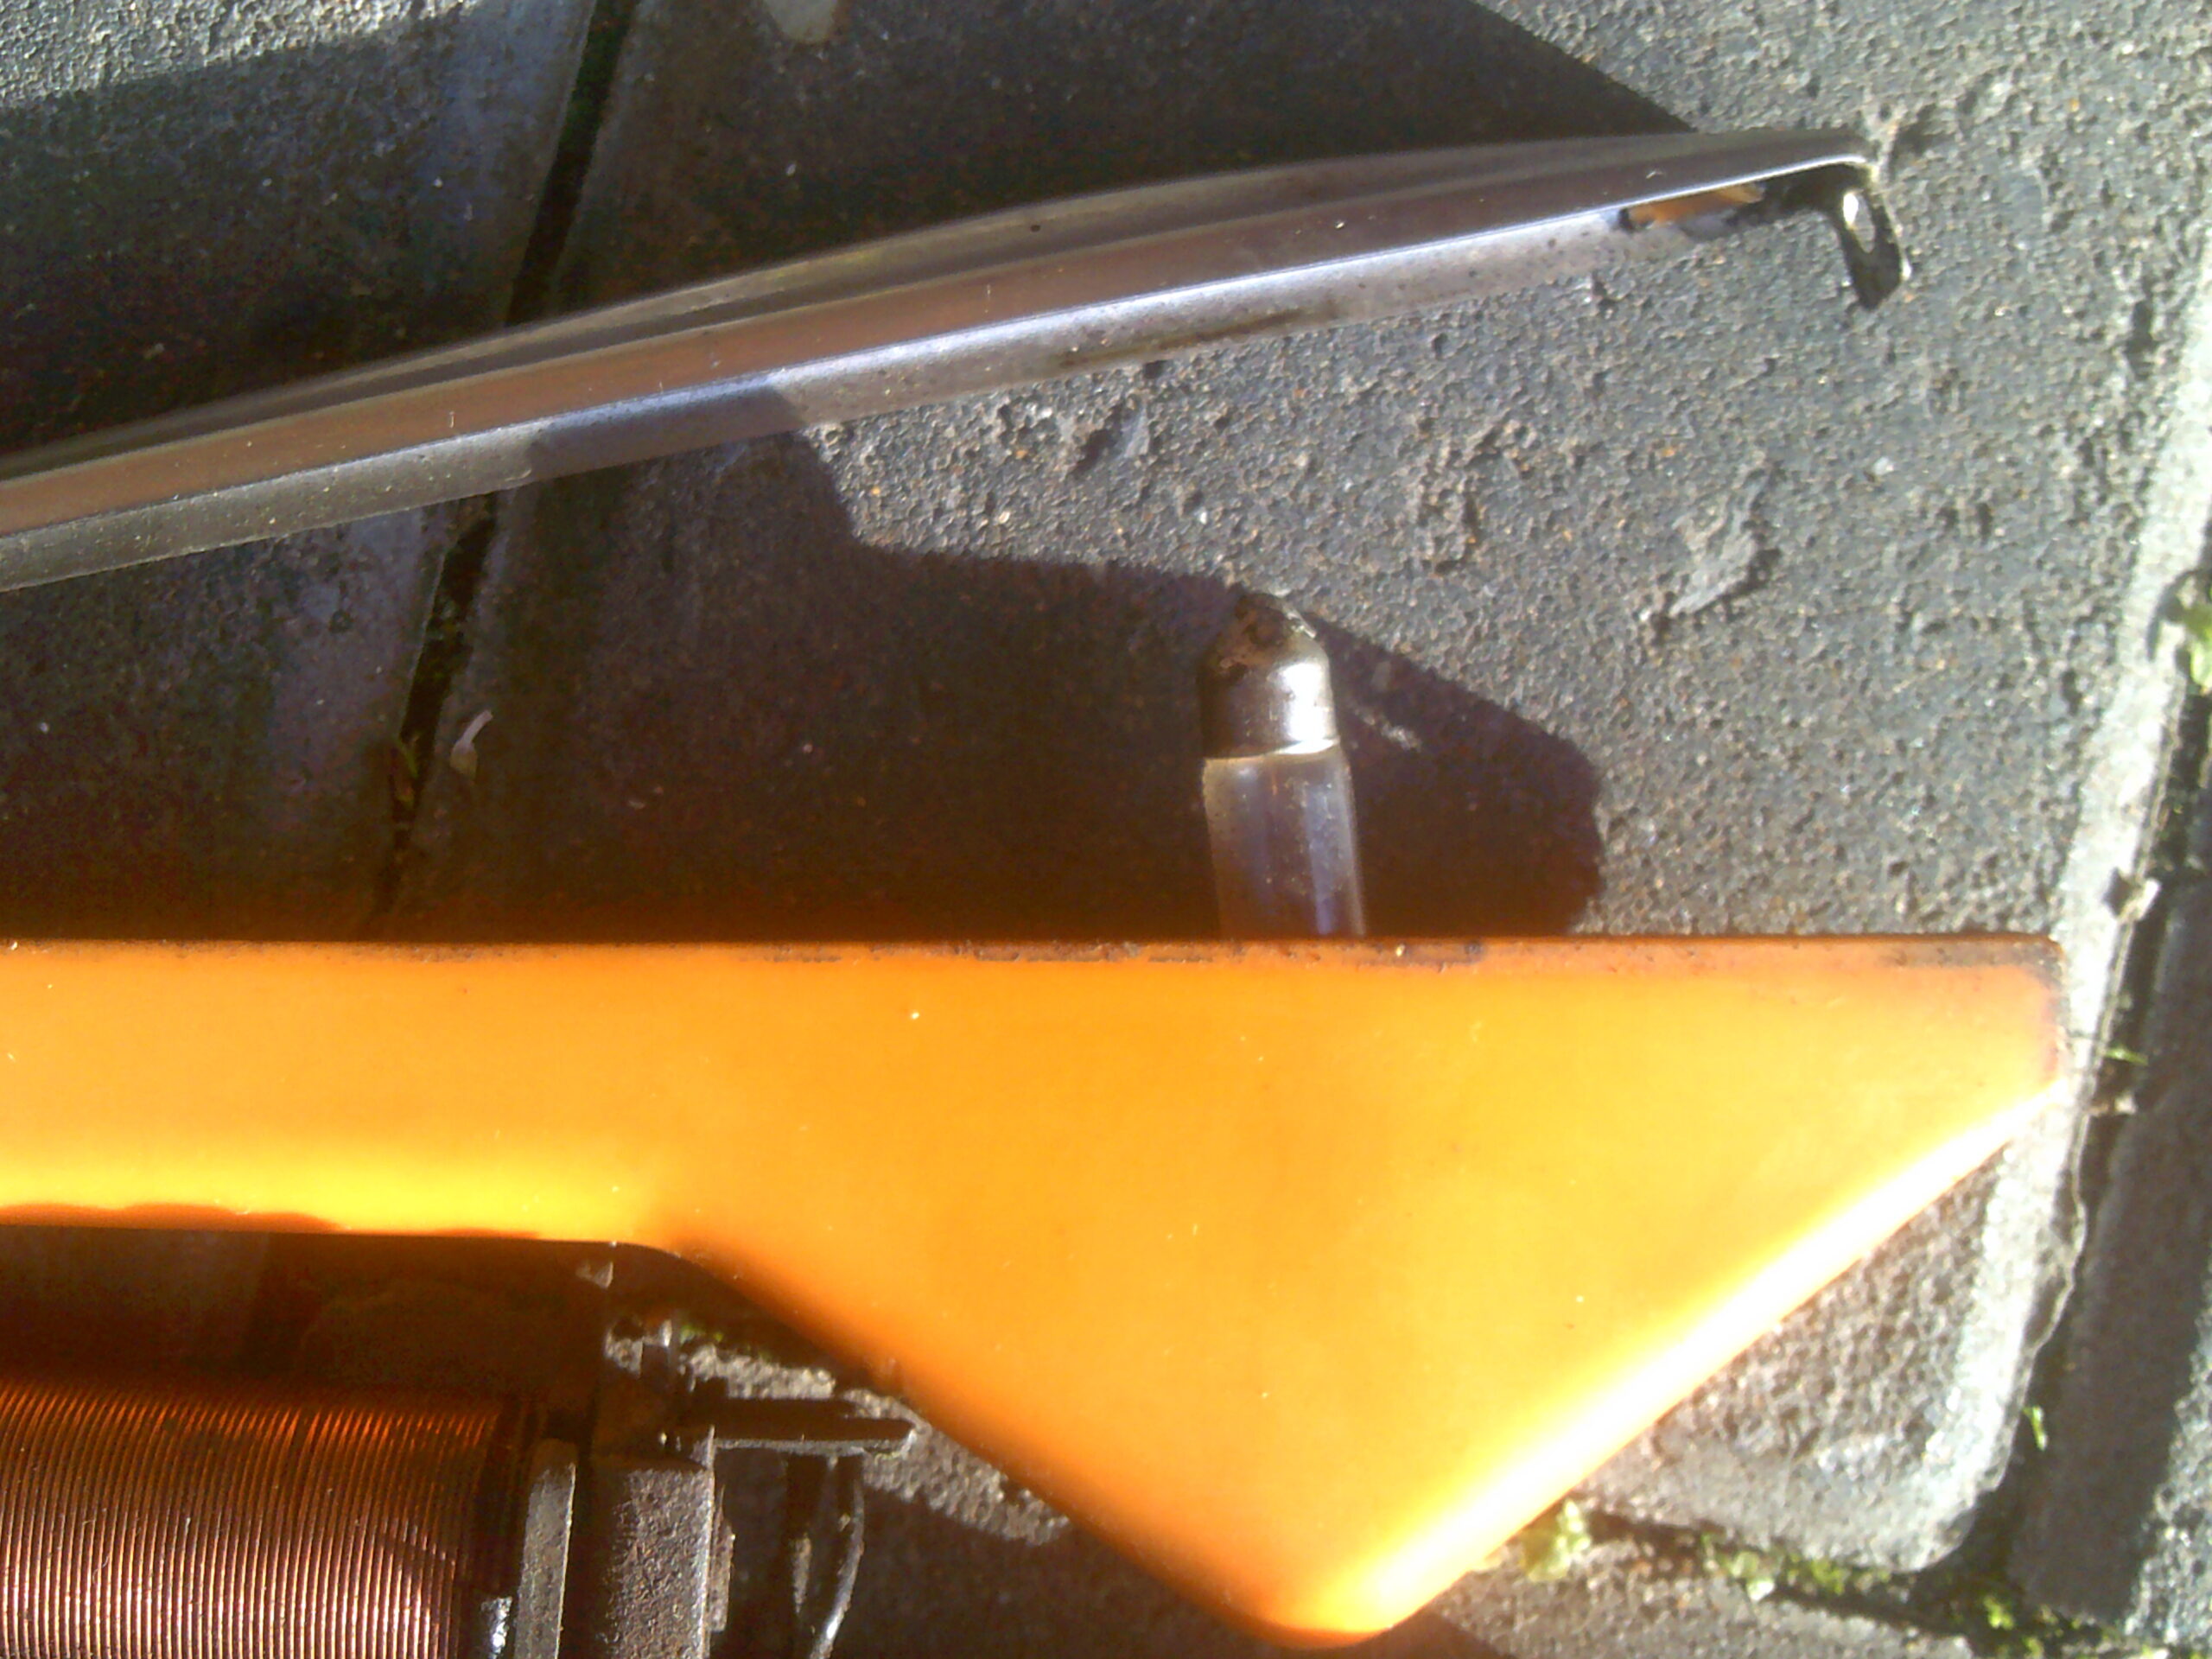
Picture 5
Picture (5) is the festoon bulb. A tiny 4BA screw fixes the lens to its chrome steel arm, remember the amber bit hooks over at the inner end. Ensure the spring contact inside and the ends of the bulb are all shiny metal for good conductivity.

Picture 6
Picture (6) There is a contact that works the bulb, its the round shiny bit. As the arm is lifted by the action of the current flowing through the copper coiled wire, pulling the soft-iron core one way, the contact will touch another inside the hinge.

Picture 7
Picture (7) The screwdriver’s blade end is pointing to this other contact that is inside the hinge. Both contacts need to be clean.

Picture 8
Picture (8) Very sparingly lubricate all the hinges and pivots, operating the arm with your finger on top of the iron bar. This should be a very easy movement, if it is sticking clean the hinges and the bar carefully with petrol. Re-oil the hinges.
Inspect all the soldered connections of the coil, the contacts, etc, If any are broken re-solder them.
Use a fully charged 12v battery to do a functional test. If nothing happens do a continuity test of the circuits in it, though I’ve yet to find one that does not improve 100% with the above servicing.
NC.